Parts
-
-
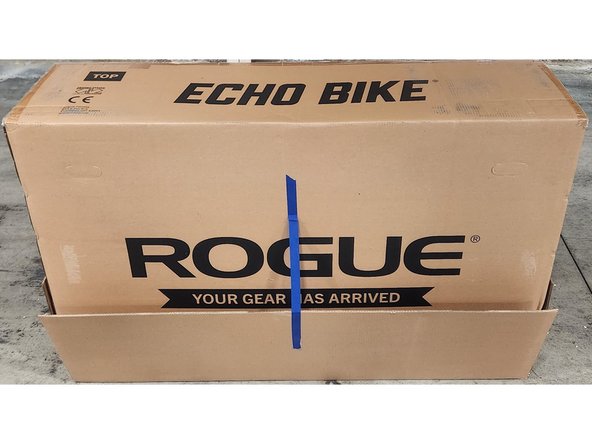
Start with the TOP of the bike box on the ground. The logos should be upside down.
-
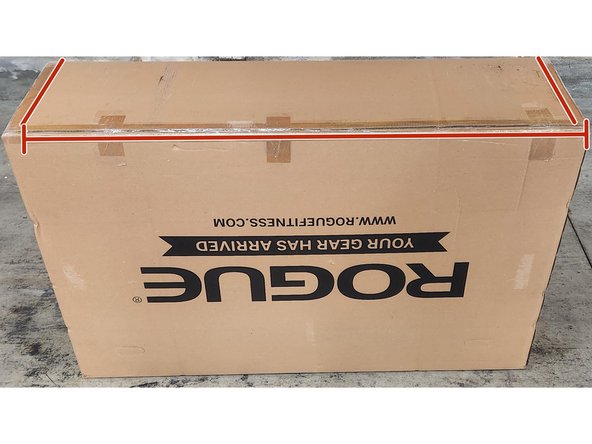
Remove the 4 bands on the outside of the box.
-
Using a box knife, slit the packing tape around 3 sides on the bottom of the box. Be careful to not cut the cardboard.
-
Unfold the 4 flaps on the bottom of the box.
-
-
-
Carefully lay the box on the largest side. Ensure the bottom flap is folded under the box.
-
Secure the remaining 3 flaps to the sides of the box using tape if necessary. The bottom should be fully open with no obstructions.
-
Carefully roll the box onto the bottom. The foam inserts should be touching the ground after this step.
-
-
-
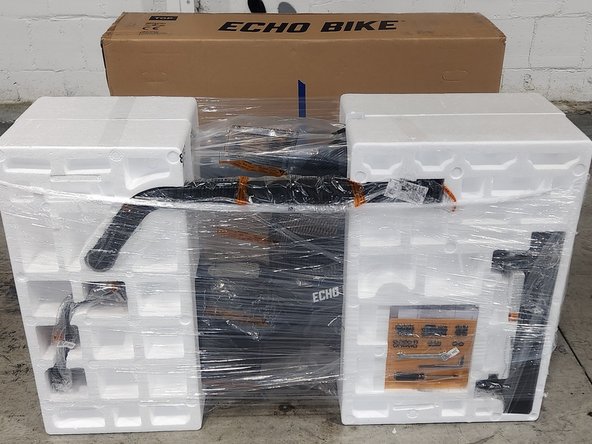
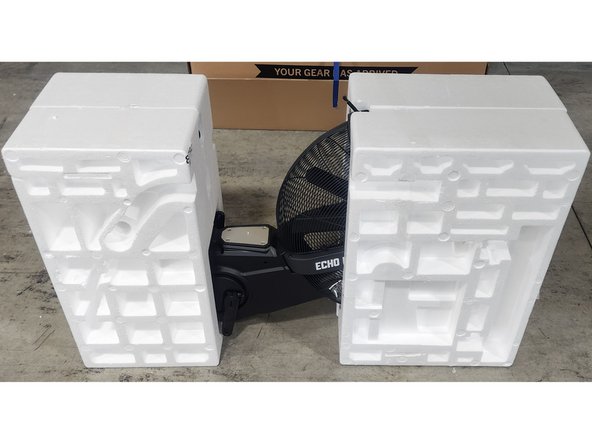
Lift straight up on the box and set it to the side. DO NOT discard the box. The bike chassis should be upright and encased in 2 foam clamshells.
-
Remove the plastic wrap around the foam.
-
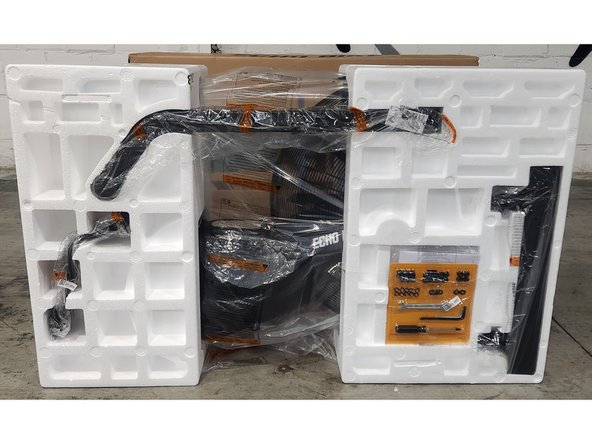
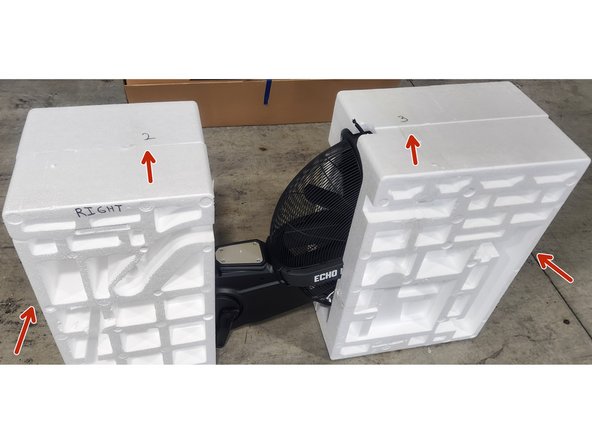
Remove all of the components packaged on the outside of the foam clamshells. The components are secured to the foam using packing tape. Use a box knife to cut the packing tape. Be careful to not damage the foam during component removal. Sit the components to the side.
-
-
-
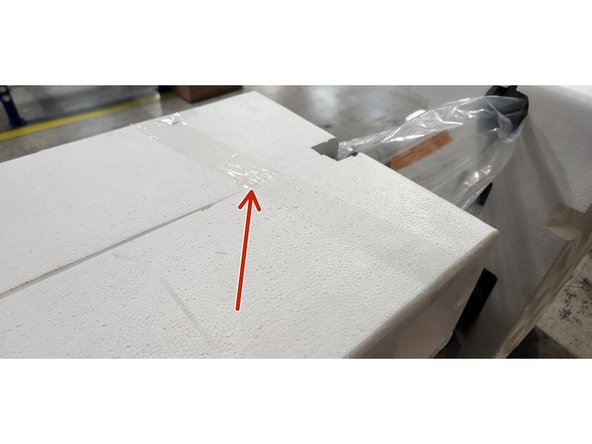
The foam clamshell is held in place using packing tape. Cut the packing tape at the clamshell seam.
-
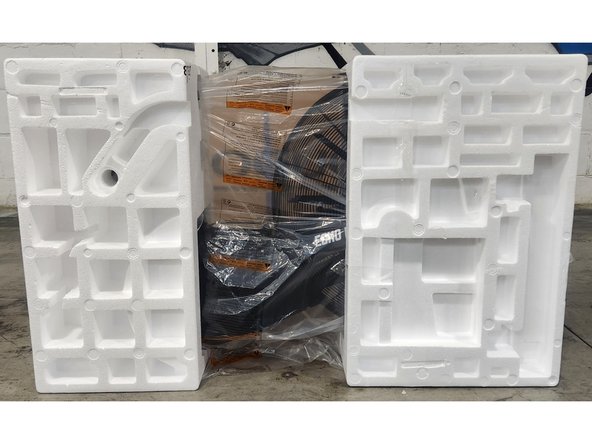
Carefully slide the 4 pieces of the foam clamshell away from the bike chassis.
-
Remove the packing spacer located under the fan using a phillips screwdriver.
-
-
-
DO NOT discard the packing spacer, screws, or washers.
-
DO NOT discard the console box and bubble wrap.
-
DO NOT discard the rubber caps from the foot pegs.
-
Follow the standard assembly instructions provided to build the bike.
-
-
-
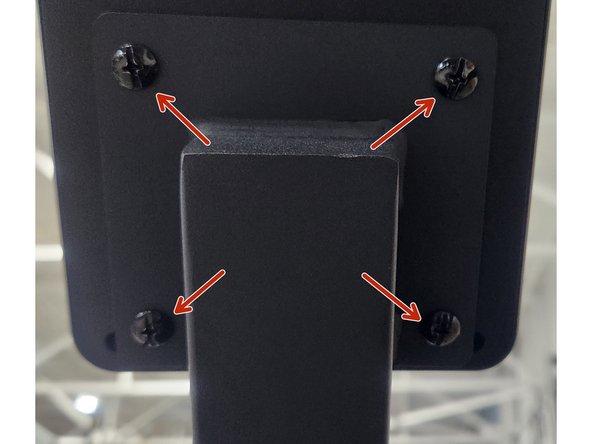
Take the console off by removing the 4 phillips head screws securing the console to the mast.
-
Disconnect the console wire.
-
Loosely replace the 4 screws back in the console.
-
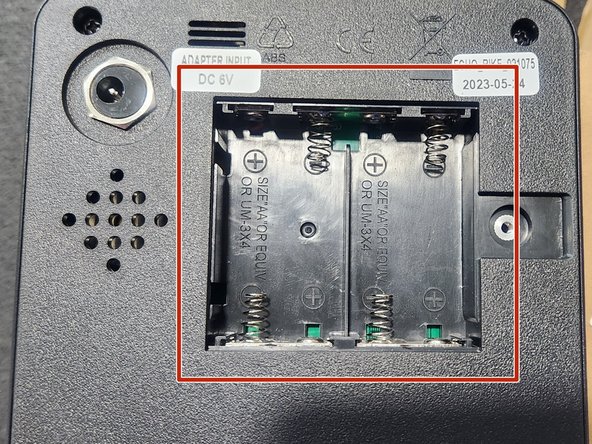
Remove the batteries from the console.
-
-
-
Remove the console mast using a 6mm hex-key.
-
Disconnect the console wire. Ensure the console wire does not fall out.
-
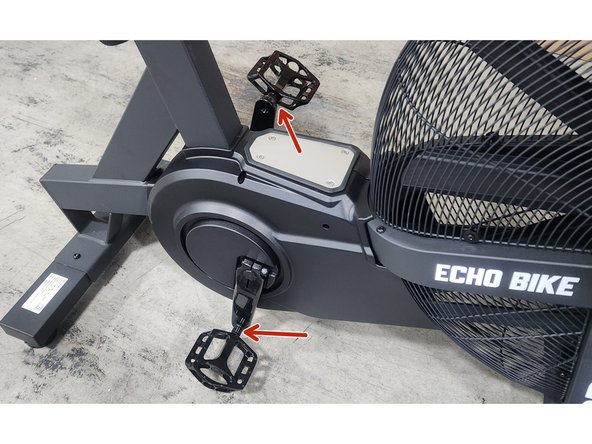
Remove both pedals using a 15mm wrench.
-
Remove both foot pegs using the 6mm hex-key.
-
-
-
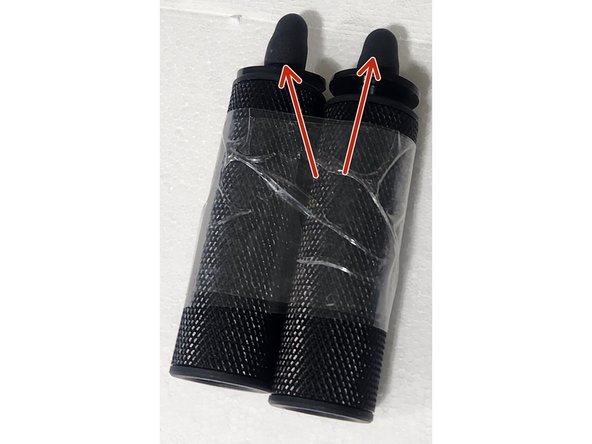
Install the rubber caps over the exposed threads.
-
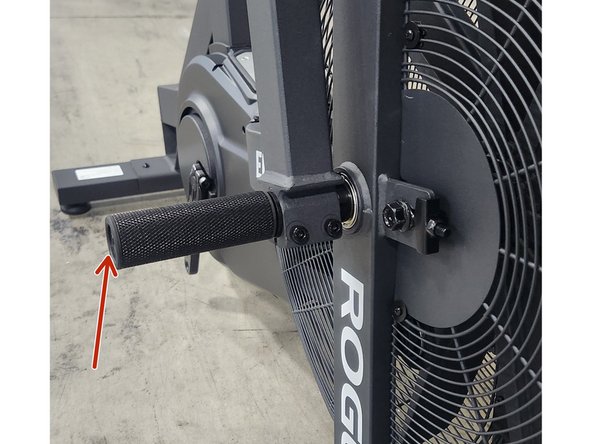
Remove both arms using a 6mm hex-key and a 13mm wrench.
-
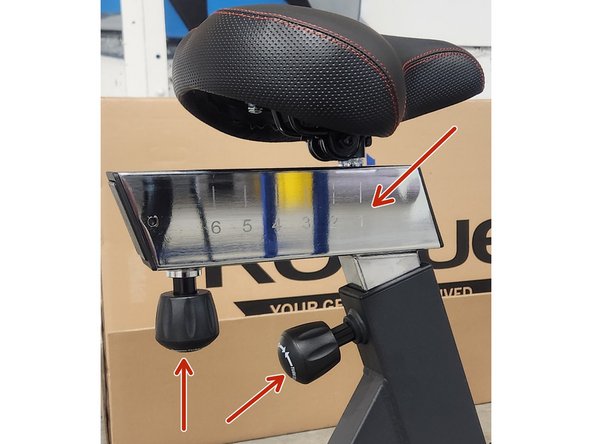
Lower the seat into position number 1. Move the seat forward to position number 1. Tighten both pop-pins.
-
-
-
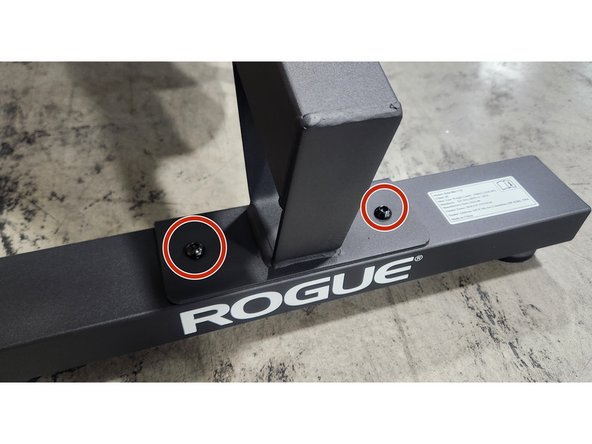
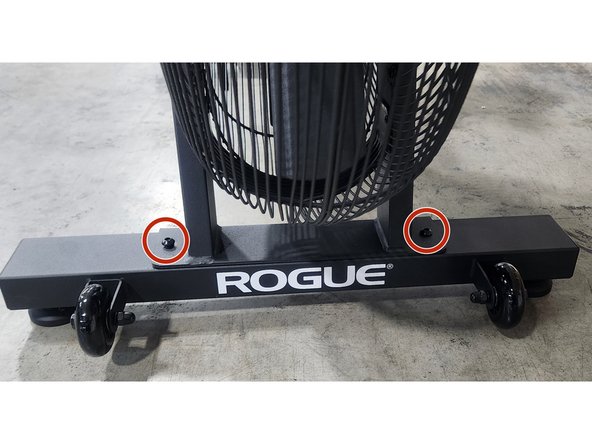
Remove the rear stabilizer using a 6mm hex-key.
-
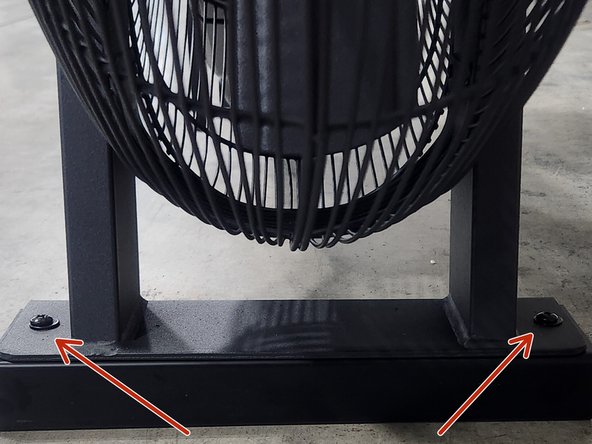
Remove the front stabilizer using a 6mm hex-key.
-
-
-
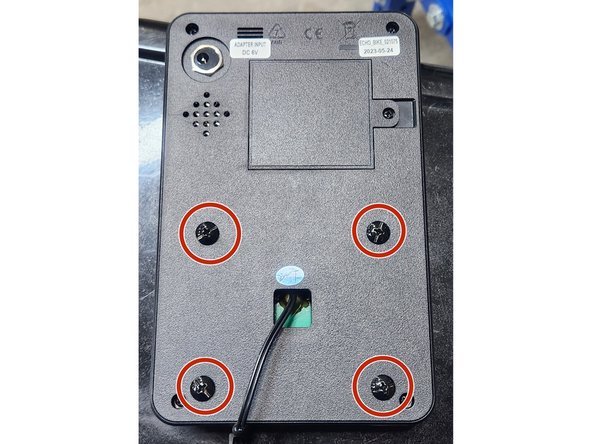
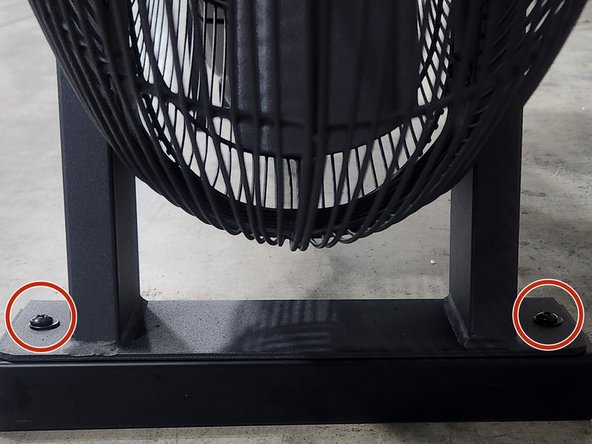
Install the front shipping spacer using the 2 phillips head screws and washers. Do not overtighten.
-
Insert the console into the bubble wrap bag. Place the foam insert over the console screen.
-
Insert the console into the console box.
-
-
-
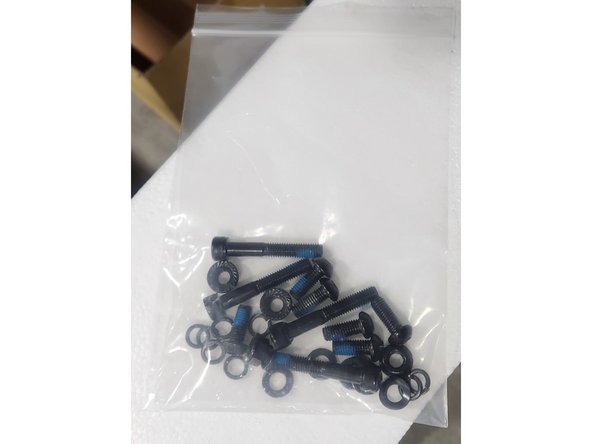
Place all of the fasteners and washers into a ziploc bag.
-
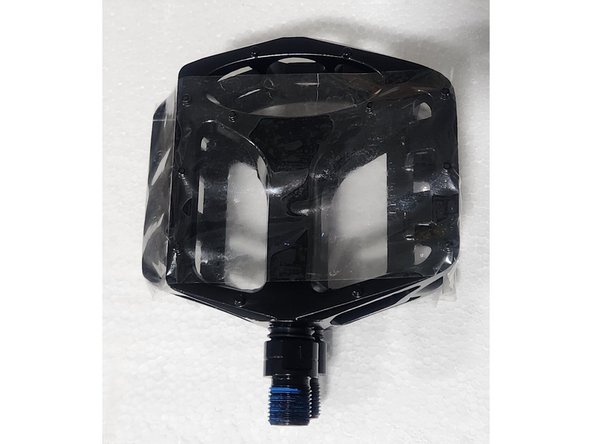
Tape the pedals together using packing tape.
-
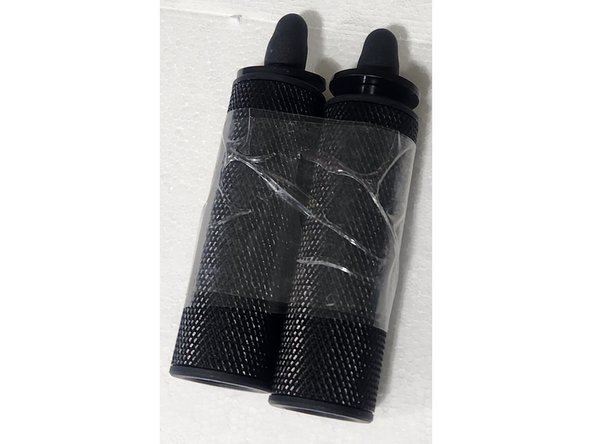
Tape the foot pegs together using packing tape.
-
-
-
Slide the 2 front foam clamshells over the front of the bike. The seams should line up.
-
Slide the 2 rear foam clamshells over the rear of the bike. The bike will need to be lifted slightly in order to get the clamshells into position. The seams should line up.
-
Tape the clamshells together in 4 spots using packing tape.
-
-
-
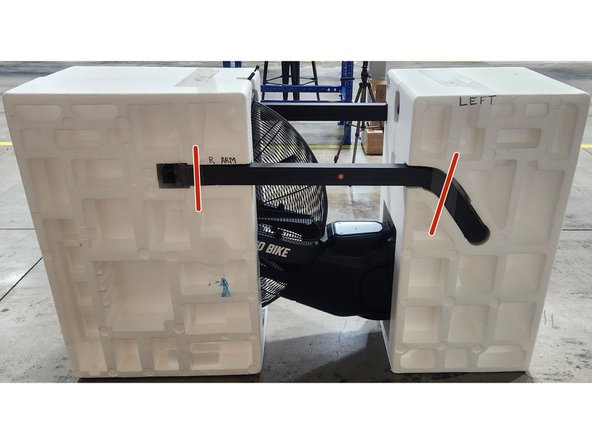
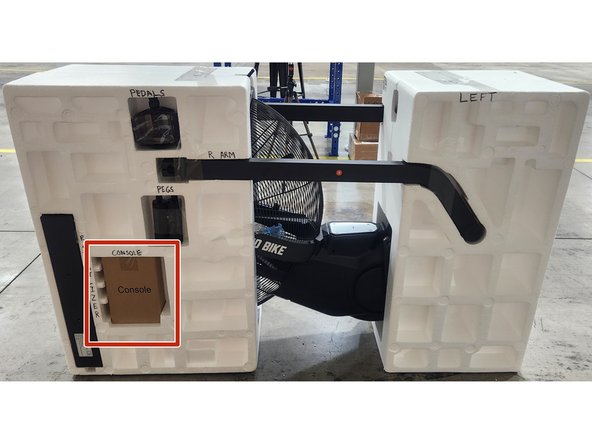
Insert the right arm into the left side of the clamshell. Secure using 2 pieces of packing tape.
-
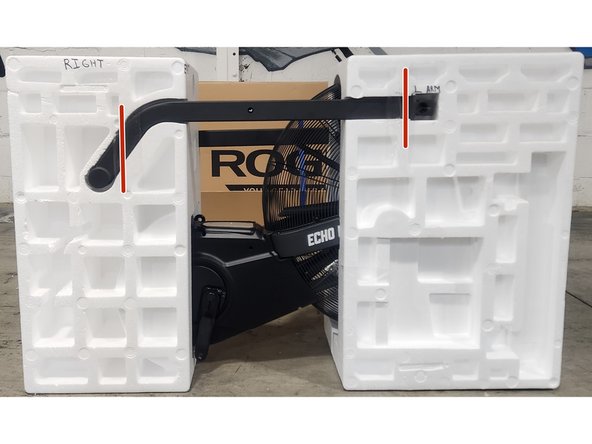
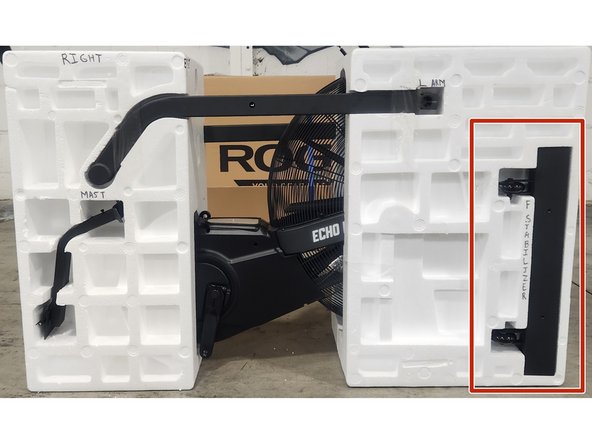
Insert the left arm into the right side of the clamshell. Secure using 2 pieces of packing tape.
-
-
-
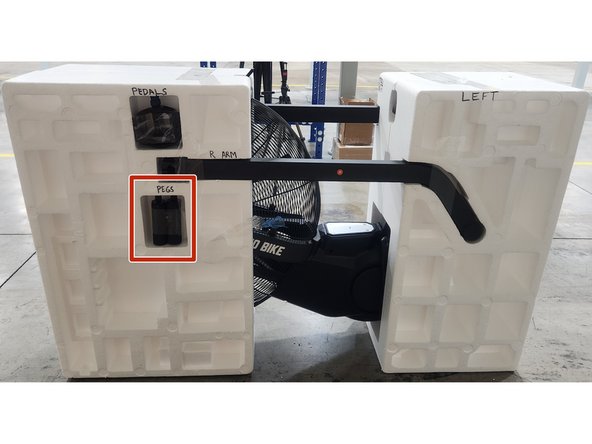
Place the pedals into the left side of the clamshell in the spot shown in the picture. Secure using a piece of packing tape.
-
Place the foot pegs into the left side of the clamshell in the spot shown in the picture. Secure using a piece of packing tape.
-
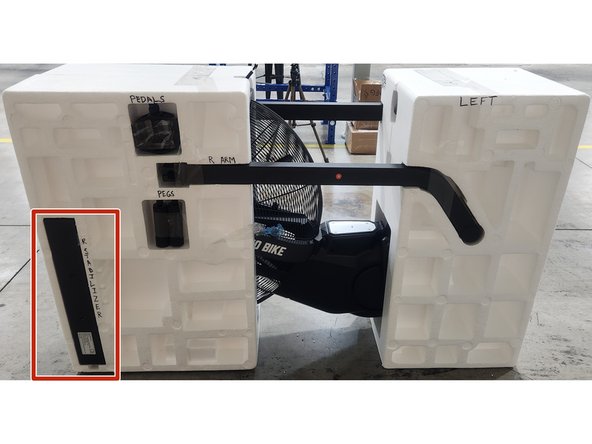
Insert the rear stabilizer into the left side of the clamshell in the spot shown in the picture. Secure using 2 pieces of packing tape.
-
-
-
Insert the console box into the left side of the clamshell in the spot shown in the picture. Secure using a piece of packing tape.
-
-
-
Insert the front stabilizer(without turf tires) into the right side of the clamshell in the spot shown in the picture. Secure using 2 pieces of packing tape.
-
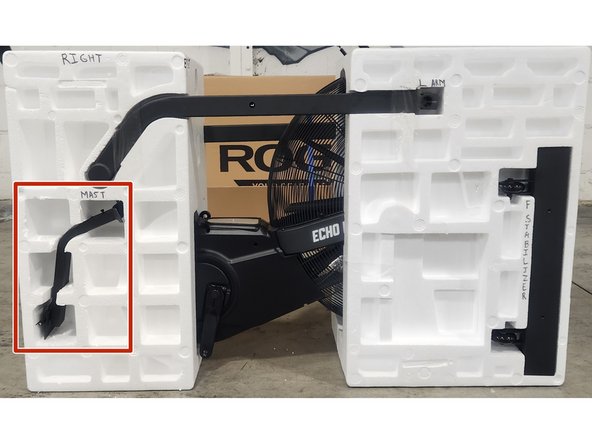
Insert the console mast into the right side of the clamshell in the spot shown in the picture. Secure using a piece of packing tape.
-
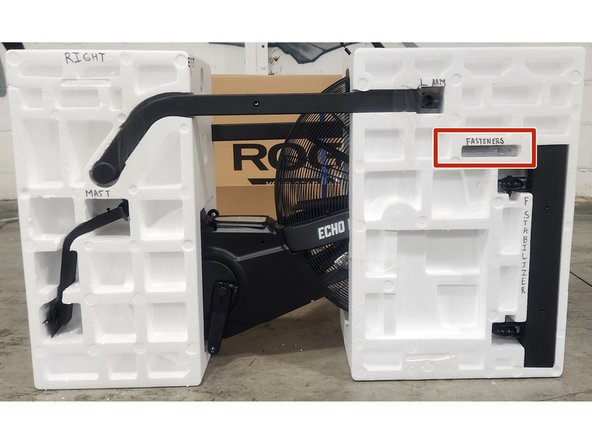
Roll the ziploc bag containing the fasteners up. Insert the ziploc bag into the right side of the clamshell in the spot shown in the picture. Secure using a piece of packing tape.
-
-
-
Slide the open end of the box over the clamshell.
-
Carefully roll the box on its top. Secure the bottom of the box using packing tape.
-
Notify customer service that the bike is ready to be picked up.
-