Introduction
This guide demonstrates the proper way to assemble a barbell.
-
-
A. Barbell Shaft (1x)
-
B. Barbell Sleeve (2x)
-
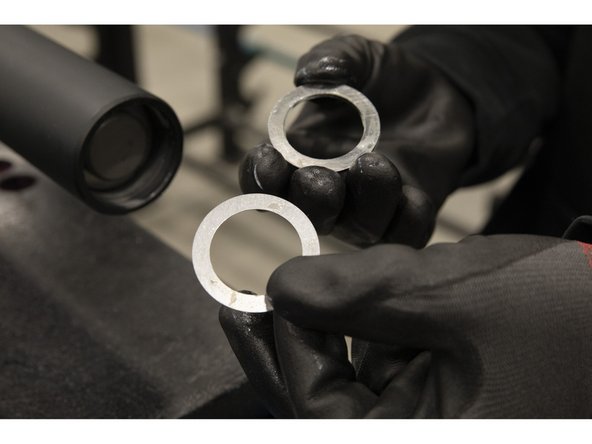
C. Full Washer (4x)
-
D. Split Washer (4x)
-
E. Shim Washer (2x)
-
F. Snap Ring (Square-End) (2x)
-
G. End Cap (2x)
-
H. Snap Ring (Round-End) (2x)
-
-
-
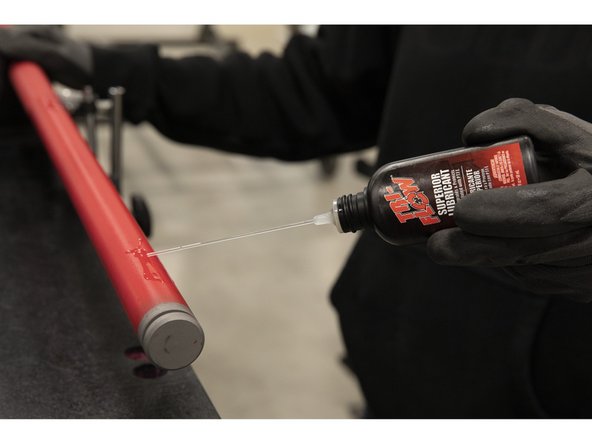
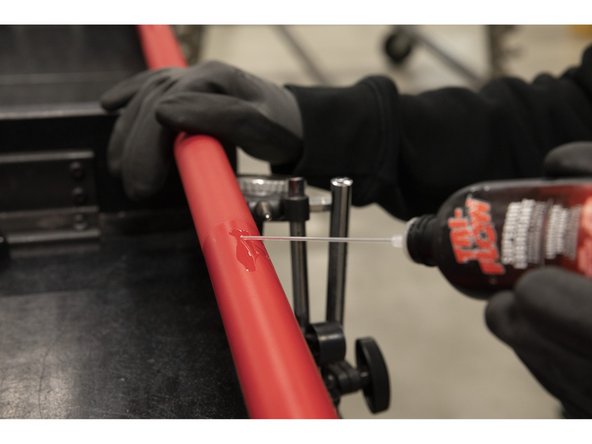
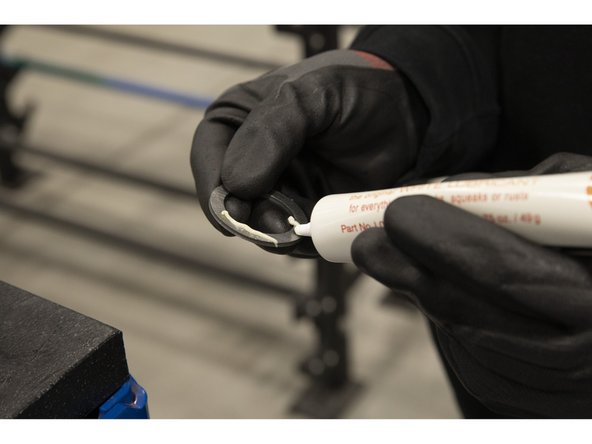
On one end of the bar shaft, apply a 2" line of Triflow on the smooth end next to the groove and a 2" line on the smooth end near the knurling.
-
This is where the bushings will sit on the bar shaft.
-
-
-
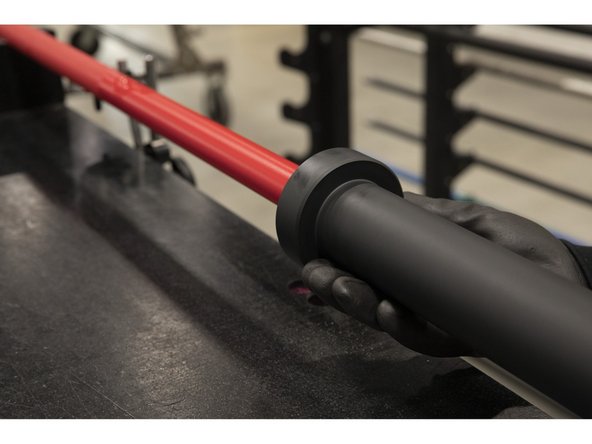
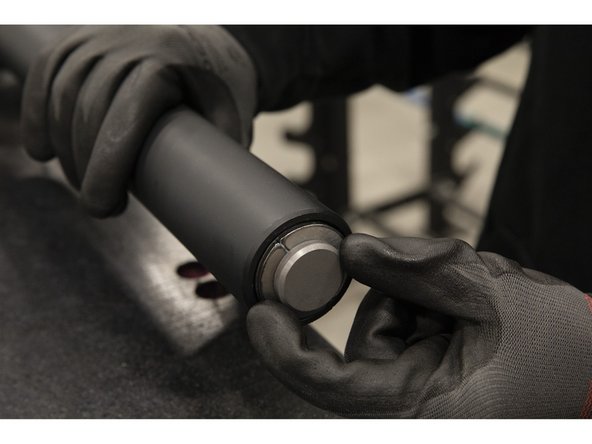
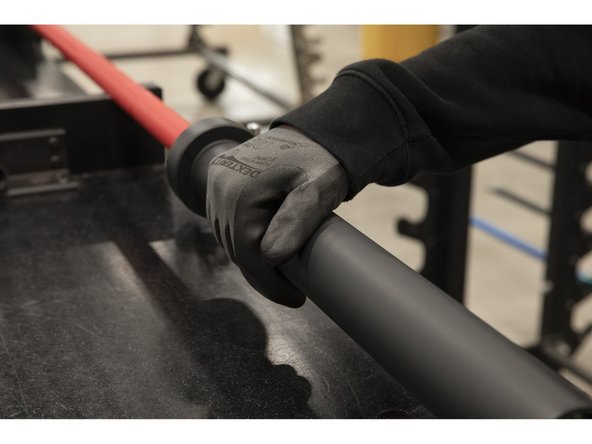
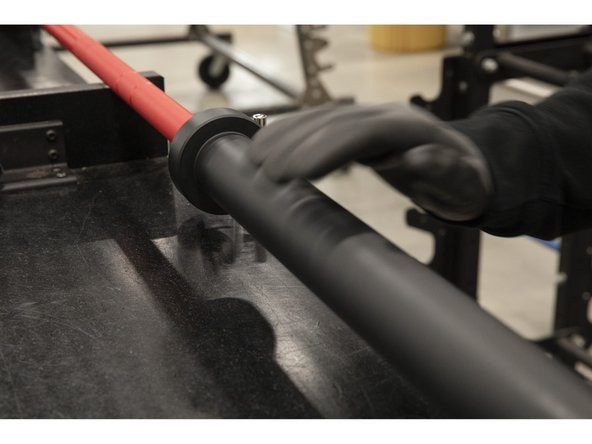
Slowly and carefully slide the sleeve onto the shaft, collar-side first.
-
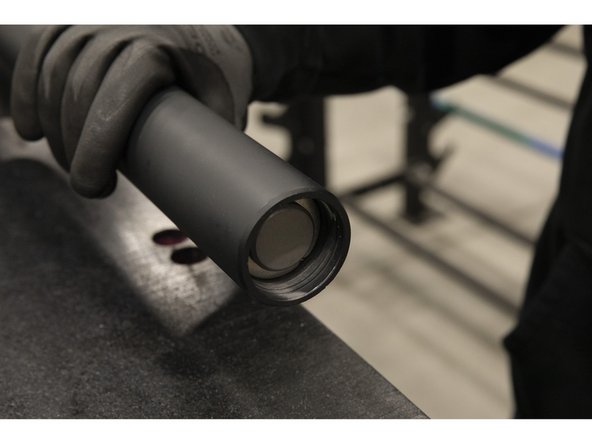
Slowly slide until the bar shaft groove fully protrudes through the sleeve end.
-
-
-
Apply grease and spread it evenly around both sides of a full washer.
-
Slide the washer over the bar past the groove.
-
-
-
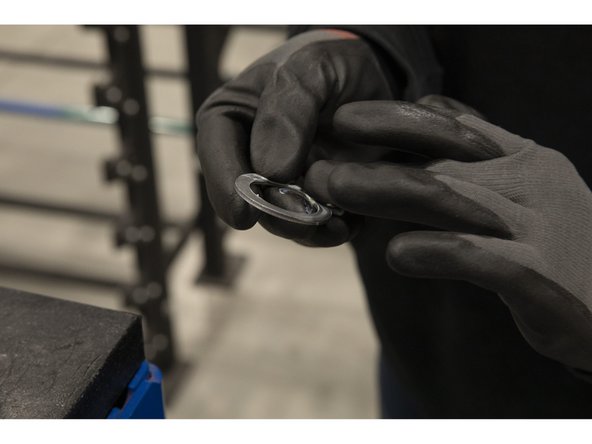
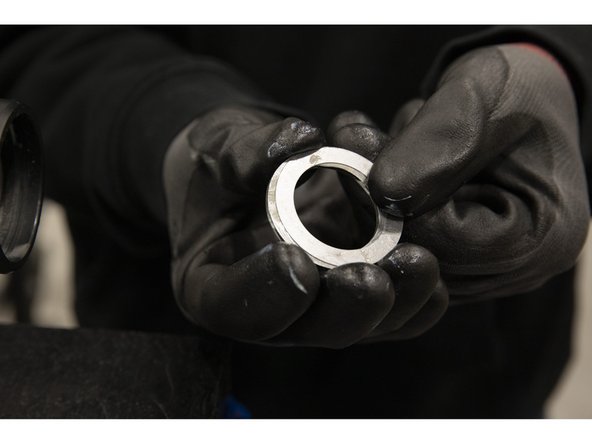
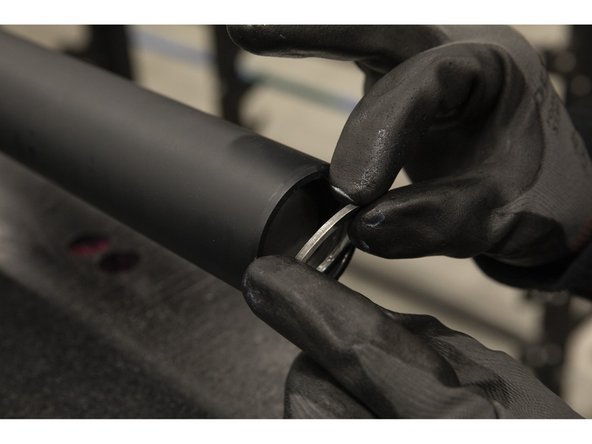
Apply grease on two of the split washers.
-
Insert the greased split washers around the groove of the bar shaft.
-
These should fully sit inside of the groove so the two washers make full contact.
-
Slide the bar sleeve over the shaft to fully house the washers.
-
-
-
Apply grease to one full washer and one shim washer.
-
Press the two washers together and the pair inside of the sleeve end, with the shim washer facing inward.
-
-
-
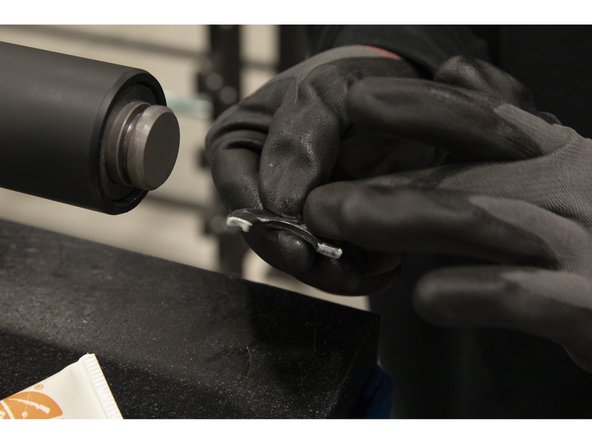
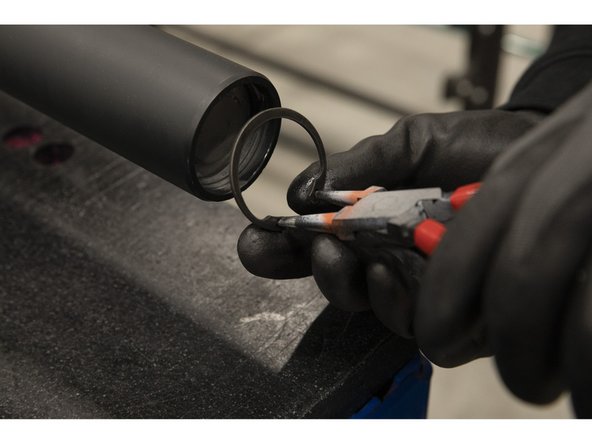
Using the snap ring pliers, carefully install the square-end snap ring into the assembly with a hand over the sleeve end as shown.
-
The snap ring must fully sit inside of the inside-most groove (adjacent to the last washer).
-
Double-check that the snap ring is fully seated within the groove.
-
CAUTION: Snap rings can quickly spring out of the pliers if not handled properly, which can cause injury. Do not install without wearing safety glasses. Do not pinch the snap rings without placing a hand over them.
-
-
-
Check the spin of the sleeve.
-
If the sleeve does not spin, carefully uninstall the snap ring, remove the shim washer, and reinstall the full washer by itself. Replace the snap ring before re-checking the spin.
-
-
-
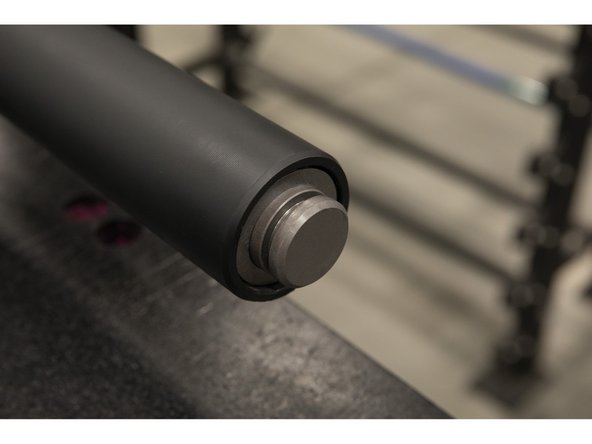
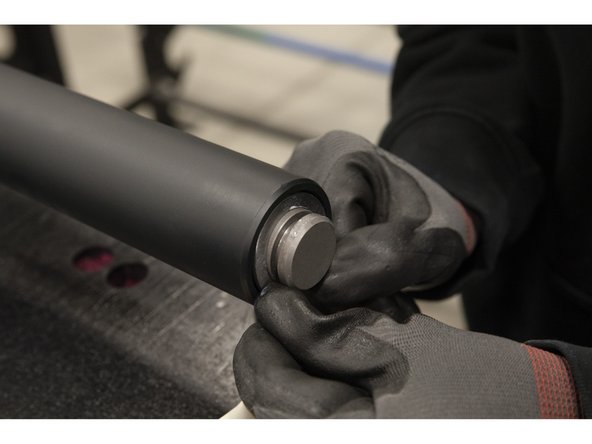
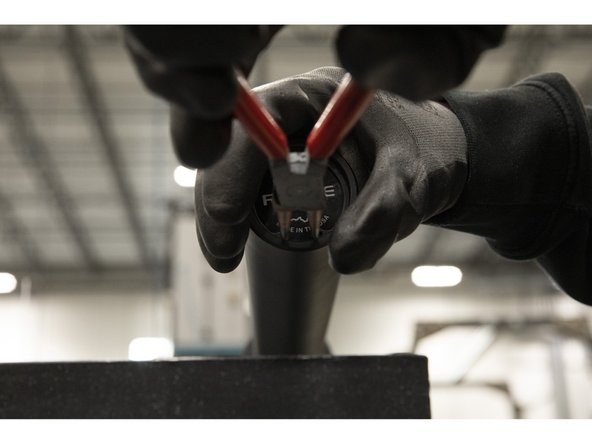
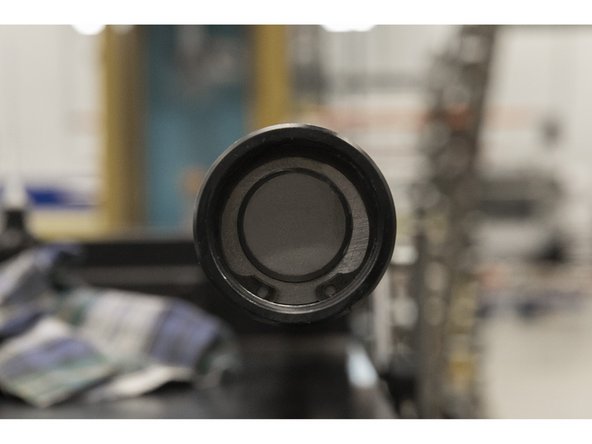
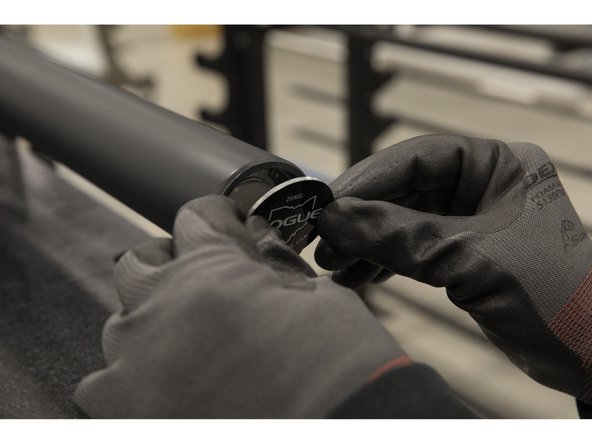
Place the end cap into the sleeve end and push it up against the inner snap ring.
-
Repeat the snap ring installation process using the round-end snap ring. Make sure the snap ring is fully seated within the groove.
-